Step 2: Creating A Pillars Application Environment
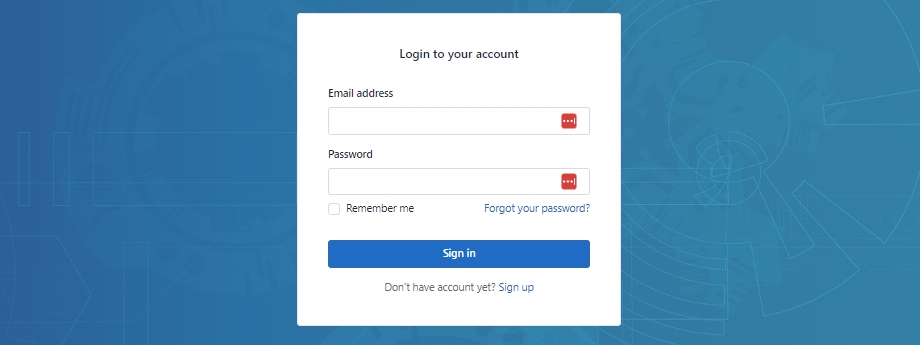
Pillars Portal Account Login
Once your Portal Account is active, your next step is to establish an Application Environment within the Portal. To get started, sign in at https://portal.pillarshub.com with the email and password you set-up previously in Step 1.

Pillars Portal Account Login
Trouble Signing In?If you can’t remember your password, simply click “Forgot Your Password?” below the password entry field and submit your email. Instructions for resetting your password will be sent to the email address provided during Step 1.
If you experience any additional login issues or do not receive the reset instructions, reach out to us at [email protected] for assistance.
Pillars Application Environment Setup
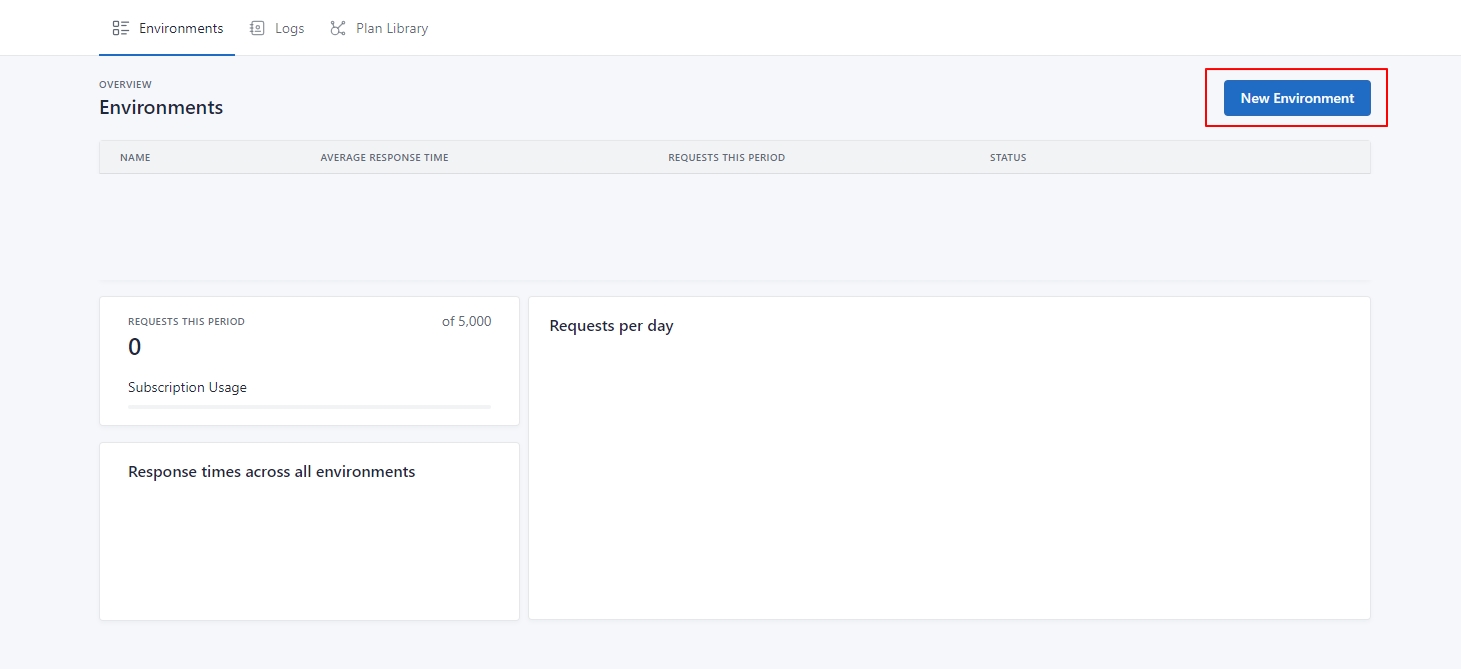
Once you've logged into your Pillars Portal Account, look for the blue "New Environment" button in the top right of the page. Click on it, and you'll be asked to name your new Application Environment.

New Pillars Application Environment
Pillars Application Environment Initialized
After you name your Environment and confirm, you'll see it listed under the "Name" column in the main part of the page. Next to it, there are additional details, including a status indicator. When the status shows "Initialized", it means your Application Environment is setup and ready to be configured.

Pillars Application Environment Initialized
Creating Multiple EnvironmentsYou can create multiple Application Environments by following the initial set-up steps. Additional Environments can serve as sandboxes, where you can test new features or adjustments without risk to your live operations. This is ideal for development and pre-deployment activities.
Updated 12 months ago
Your first Pillars Application Environment is initialized, let's move on to configuration.